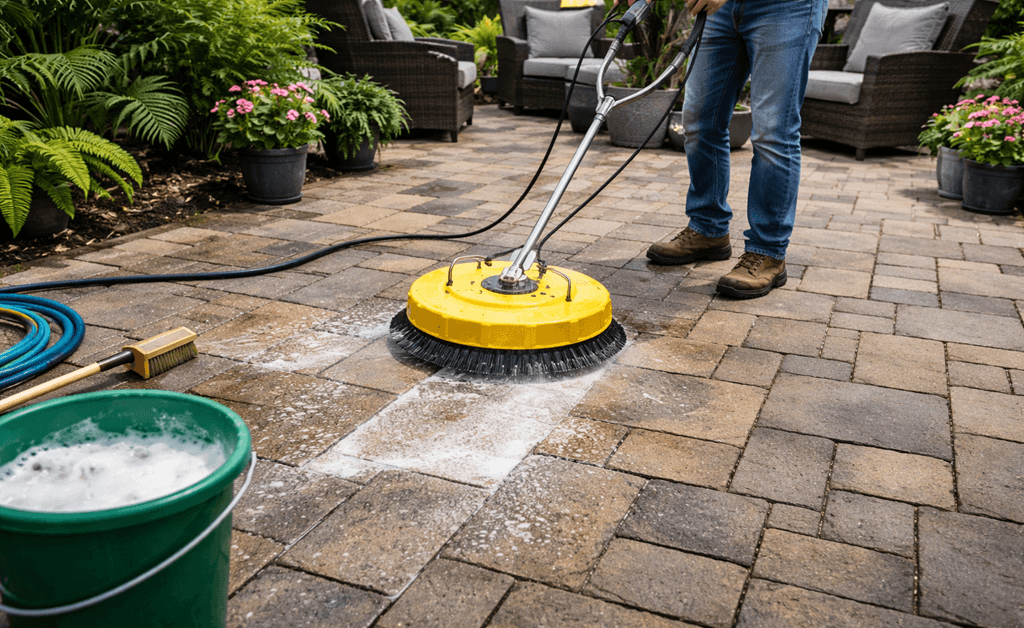
Clean Patio Pavers Without Removing Sand

How to Clean Patio Pavers Without Removing Sand

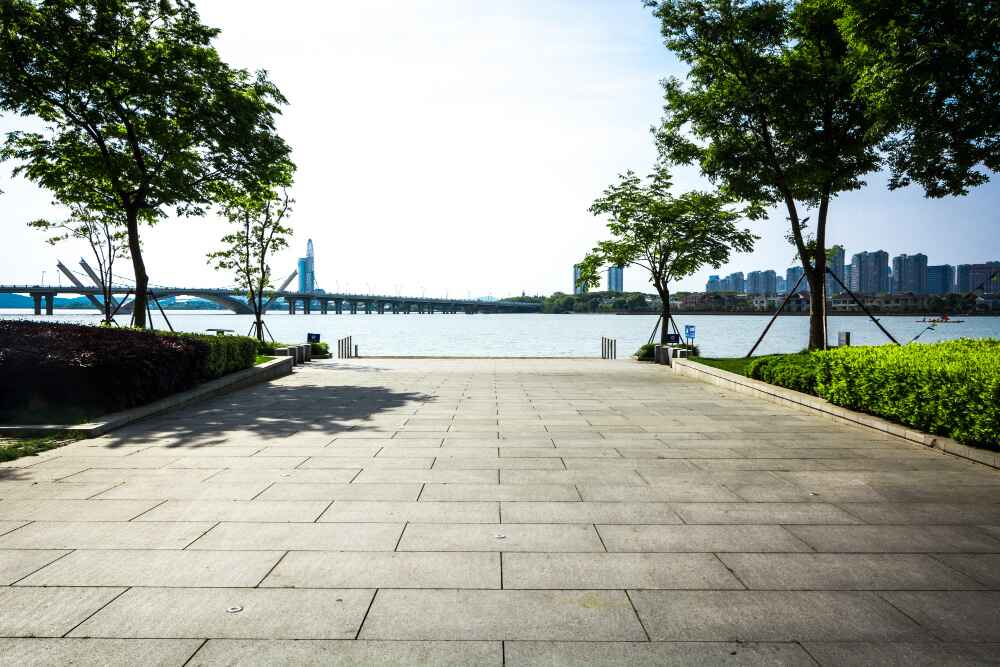
Over the years, we have been able to install thousands of patio paver systems, and one of the most common questions that we receive from consumers is how they can maintain their pavers in like-new condition without disturbing the sand that has been placed between them. 

Sand that has been placed between the pavers is not simply used as a cosmetic touch. Rather, it is used as part of the entire system of the patio pavers. If you were to remove the sand from between the pavers, it would cause problems as it would no longer keep the pavers in place, would cause weeds to grow, and would result in an uneven surface on your pavers. 

At Bill’s Custom Concrete, we understand these challenges and strive to help homeowners protect their investment. The good news is that you can maintain your pavers in that sparkling clean condition without disturbing the sand that has been placed. If you’ve ever wondered how to clean patio pavers effectively, we have refined our techniques after working on numerous custom concrete and paver installations and would be more than happy to share our expertise with you! 

Sweeping and Debris Removal

The first part of the paver cleaning process that we always recommend to consumers before using any water is to dry-clean them. Many homeowners ask about the best way to clean patio pavers, and the best method to do this would be to use a stiff-bristled broom to sweep the surface of the pavers as well as any debris or leaves that may have accumulated on your pavers. 

It’s important to keep in mind that when sweeping the area between the pavers, you must avoid sweeping too aggressively as this could cause problems. A leaf blower on a medium speed is a good idea to blow off any debris that has accumulated in the corners or between the pavers.

Low Pressure Rinsing Techniques

When it comes time to rinse off the pavers, the key is to take it easy. The temptation to grab a high-pressure hose and blast off all the debris may seem like the best solution, but it is also the fastest route to having to pay to have the sand replaced so that it can be put back in between the pavers. One of the most important steps in patio paver cleaning is using just enough pressure to clean the surface, without disturbing the sand joints.

The solution that we recommend is to grab your average garden hose with a spray nozzle that has been set to soft spray. Start on one side of the patio and work your way across the pavers, keeping the nozzle at least 12 inches away from the pavers as you go. This will give you enough power to get the job done without forcing water down.

If you have some particularly difficult stains, you can let a solution sit on the pavers for a few minutes before rinsing it off. This is the best solution to your problem without forcing water to blast the stain out of the pavers. Taking these steps ensures you are cleaning patio pavers without risking damage to their foundation.

Preserve Your Investment with Proper Care

Great news! It’s possible to take care of your patio pavers without being harsh on the foundational elements that help keep them grounded.

The key here is to realize that the sand in the joints is working very hard to prevent the movement of the pavers and to ensure that the water drains properly. This is not just about the looks of the pavers; it’s about the entire system we’ve worked so hard to create in the first place.

If you use these techniques regularly, you can extend the life of your patio by many years without having to go through the costly process of re-sanding and re-leveling your patio. Your patio is part of your home, and by taking good care of it, you can enjoy it for many years to come! 
Read More
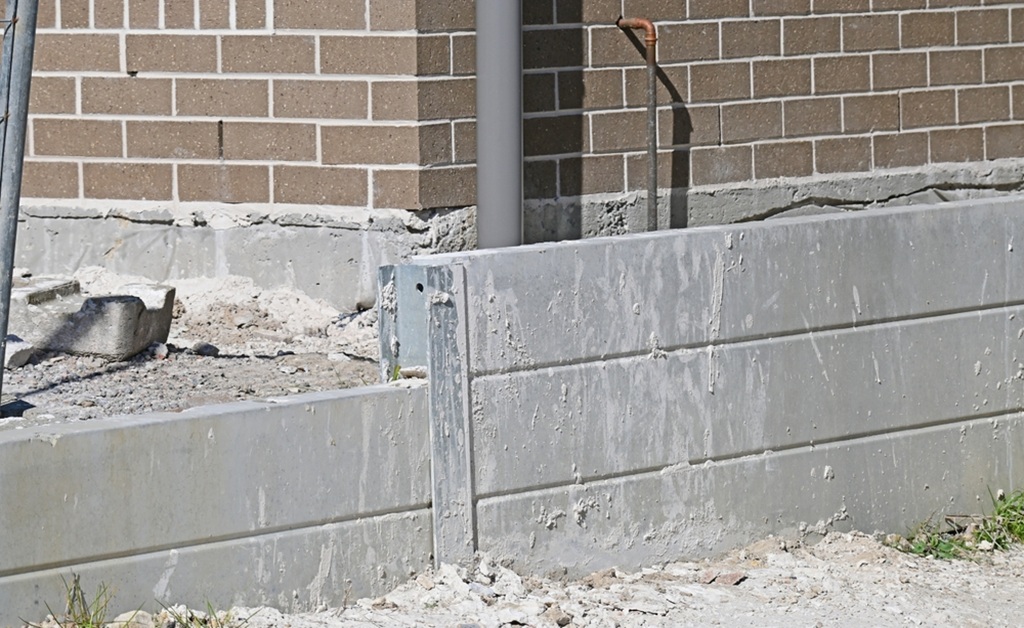
Concrete Footing for Retaining Wall

What Happens If You Ignore Concrete Footing for a Retaining Wall?

Retaining wall construction is easy enough, but economizing on footings is a recipe for expensive disasters. Home and business owners often ask, do I need a concrete footing for a retaining wall? The short reply? It all comes down to your particular circumstances, but consequences of not having proper footing when you absolutely do have to have it can be dire.

What is a Retaining Wall?

A retaining wall is a structure that is built to keep back earth and stop erosion on hillside ground. Retaining walls are often employed in landscaping to provide a flat area on which to put a garden, driveway, or construction site foundation. They also defend against earth movement, which might do damage to close structures or pose a hazard. For example, a concrete retaining wall in Oklahoma City must withstand unique climate and soil conditions.

Retaining walls are made from an array of material such as poured concrete, natural rocks, concrete units, and wood. Whatever material you opt to make a retaining wall from, its resistance to soil pressure is solely reliant upon a solid foundation.

Do You Need a Concrete Footing When You Build a Retaining Wall?

The requirement for solid footing is determined by a number of variables such as wall height, site ground, and regional codes. Normally, retaining walls higher than three feet will require concrete footing for a retaining wall to allow decent support. Nonetheless, much lower walls will require footings in some situations, and knowing the proper retaining wall footing depth is essential for structural integrity.

When a Concrete Footing is Required

Footing for a concrete wall is particularly necessary when working with heavy clay soil, slow-draining ground, or freeze-thaw zones. These will exert extra pressure upon that part of the wall which will collapse if no firm support of a footing is provided.

The footings may be required by local codes, and many jurisdictions require permits on retaining walls of a particular height. Always contact your building department prior to construction so that code compliance is achieved, or work with Bill’s Custom Concrete since we know everything there is to know. 

When You Can Bypass Footing

Low decorative walls below two feet in height in good drainage soil could be exempted from concrete footings. Gardening walls that face minor soil pressure can occasionally be constructed over a compressed gravel or a sandbox base. Still, even these cases do have some type of groundwork preparation. If you’re unsure how to build a concrete footing for a retaining wall, consult Bill’s or local building code resources to avoid costly mistakes.

Problems of Neglecting Footing When You Need It

Skipping concrete footing when necessary is a grave mistake that will lead to many severe issues that will cost much more than the initial cost of footing.

Wall Tilting and Collapse

Without proper footing, retaining walls often begin tilting forward due to soil pressure. This tilting starts gradually but accelerates over time, eventually leading to complete wall collapse. A collapsed retaining wall not only destroys your investment but can also damage property and create safety hazards.

Soil Washout and Erosion

Failed retaining walls allow soil to wash away during heavy rains, potentially undermining nearby structures, walkways, or driveways. This erosion can extend well beyond the original problem area, affecting neighboring properties and requiring extensive remediation.

Building Damage to Neighboring Buildings

When a retaining wall falls down, later movement of ground can prove to compromise house foundations, garage foundations, or any other structure. Foundation repairs are among homeownership’s most expensive repairs, and often cost far more than a properly constructed retaining wall would have cost in the first place.

Legislative and Insurance Matters

If your poorly constructed retaining wall collapses and injures property, you could have a problem of liability. Moreover, insurance firms might reject claims that fall under injury from construction that did not comply with appropriate construction methods or regional codes.

The Intelligent Choice When Investing

While concrete footing is an added part of your initial expense of a retaining wall, it is invaluable insurance against expensive later problems. Your small initial investment in good foundation work will preserve your property valuation and prevent calamitous failures.

It is a good idea to consult locally with specialists at Bill’s Custom Concrete to review your particular property as well as your area requirements. Professional assessment guarantees your wall will give a long-term protection to your property investment! 

Read More
install wood floors over concrete

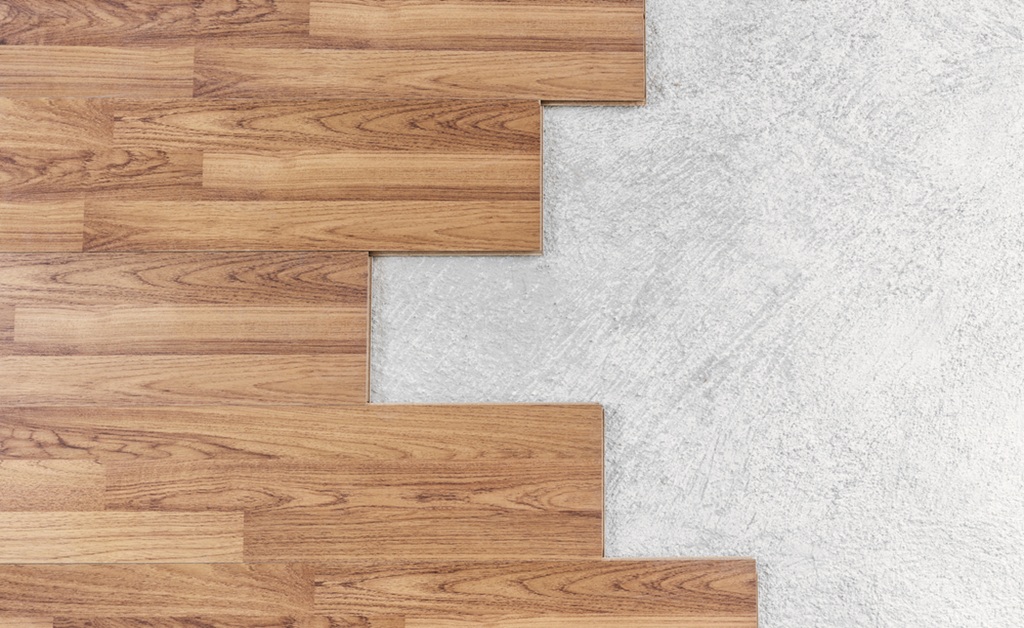
Can You Install Wood Floors Over Concrete?

Installation of wood flooring over concrete is not only possible but also commonplace today in construction and renovation activities. Building owners and property developers encounter this scenario quite often, whether it’s work for basement spaces, ground-level floor installations, or concrete slab foundations. It’s all about understanding the challenges that concrete uniquely creates and making the appropriate decisions about the correct building materials and the installation method. 

If you’re asking, can you install wood floors over concrete? The answer is yes – with the right steps and some expertise.

While concrete gives a highly stable and long-lasting sub-base, it must be suitably prepared, and provisions for controlling the moisture taken into consideration for a successful installation of a wood floor that will survive for generations. Many people in the region rely on concrete suppliers in Oklahoma City like Bill’s Custom Concrete to ensure their subfloors meet certain standards required for flooring installations.

Understanding Concrete Subfloors

Subfloors in concrete have unique qualities that are far from the conventional wooden subfloors. The major area of concern when using concrete is moisture control. Concrete is a permeable substance that will take in moisture from the floor or the environmental area it serves and transmit it to wood flooring by way of vapor transmission.

The shift in temperature also impacts concrete differently than it does wood. Concrete holds cold temperatures for a longer duration and has a risk of condensation when warm, humid air meets the surface. It could result in cupping or warping or the establishment of mold in wood flooring if unaddressed. Taking these factors into account is critical when installing wood floors over concrete in any building project.

Preparation also includes moisture testing by relative humidity probes or calcium chloride tests. Concrete moisture contents are most commonly mandated by most floor manufacturers to be below designated levels prior to safe installation.

Types of Wood Flooring Suitable for Concrete

Engineered Wood Flooring

Engineered wood flooring is the ideal selection for concrete installations. The item consists of a real hardwood veneer attached to several plies of plywood or high-density fiberboard. Cross-grain construction gives it greater dimensional stability so that it compensates for moisture-connected movement better than hardwood.

Engineered flooring may have a variety of installations over concrete using several methods such as floating installations using underlayment, direct adhesive installations, or by nailing when paired with plywood subflooring. Choosing to install a wood floor over concrete, using engineered wood, usually ensures better performance and fewer complications.

Solid Hardwood Considerations

Whereas installation of hardwood over concrete is feasible in theory, the installation is harder. Hardwood expands and contracts more when the conditions of moisture change, and is therefore more susceptible to issues where the concrete’s nature is towards moisture.

If hardwood is selected over concrete, it will generally need a plywood subfloor system in place with the appropriate moisture barriers that are expensive and lower the ceiling height. Engineered products are often the preferred choice by flooring contractors for concrete installations.

Advantages of Dealing with Experts

Results-oriented concrete and flooring experts offer irreplaceable experience when it comes to these installations. They have the right machinery to perform the moisture test, floor preparation, and are able to advise suitable adhesives, underlayments, and installation strategies for your particular scenario.

Specialists at Bill’s Custom Concrete are familiar with local building codes and moisture conditions that will affect your installation. We will also identify potential roadblocks ahead of time so they don’t become costly repairs later, such as inadequate vapor barriers or improper concrete curing.

Working with highly experienced professionals will often include warranty protection and ensures manufacturer specifications are achieved, a requirement commonly demanded for commercial construction or high-value property work.

The Right Call for Your Project

It is certainly possible to install wood flooring over concrete when properly planned and installed. Engineered wood products have the optimum balance of true wood appearances and stability for concrete installations. Although the cost is greater than for commodity flooring products, the long-range appearance and performance are justified for the majority of property developments. When you’re ready to move forward, consulting skilled installers knowledgeable in installing wood floors over concrete will ensure you get the most value and longevity for your investment.

Success relies on extensive moisture testing, proper product selection, and expert installation methods. If these factors come together, wood flooring over concrete will deliver generations of handsome, long-lasting service! 

Read More
Install a Concrete Patio

How Long Does It Take to Install a Concrete Patio?

Adding a concrete patio to your home is a smart investment. It not only enhances your outdoor living space but also adds lasting value and aesthetic appeal to your property. But one of the most common questions homeowners in Oklahoma City ask is: “How long does it take to install a concrete patio?”

The answer depends on several factors, including patio size, design complexity, weather, and curing time. At Bill’s Custom Concrete & Yard Drainage, we specialize in designing and installing high-quality concrete patios in OKC, and we’re here to break down the process step by step so you know what to expect.

Step 1: Planning and Permits

Before we even break ground, there’s some planning to do. This includes:

  • Finalizing the design and dimensions
  • Selecting finishes and textures
  • Confirming the location
  • Checking for utility lines
  • Acquiring necessary permits (if required)

For a basic patio, this phase can take just a day or two. If your project is more complex, such as a multi-level structure or includes special finishes, it may take a bit longer to finalize the plans.

Step 2: Site Preparation

Site prep is essential for a long-lasting concrete patio. This phase includes:

  • Excavating and leveling the area
  • Removing grass, soil, or old concrete
  • Installing forms to shape the patio
  • Laying a compacted gravel base for drainage and stability

This process usually takes 1 to 2 days, depending on the size of the patio and how much excavation is needed.

Step 3: Reinforcement and Framing

For added strength, most patios require reinforcement such as:

  • Steel rebar
  • Wire mesh
  • Expansion joints

Once the framework and reinforcements are set, we’re ready for the concrete pour. This step is usually completed within a single day.

Step 4: Pouring and Finishing Concrete

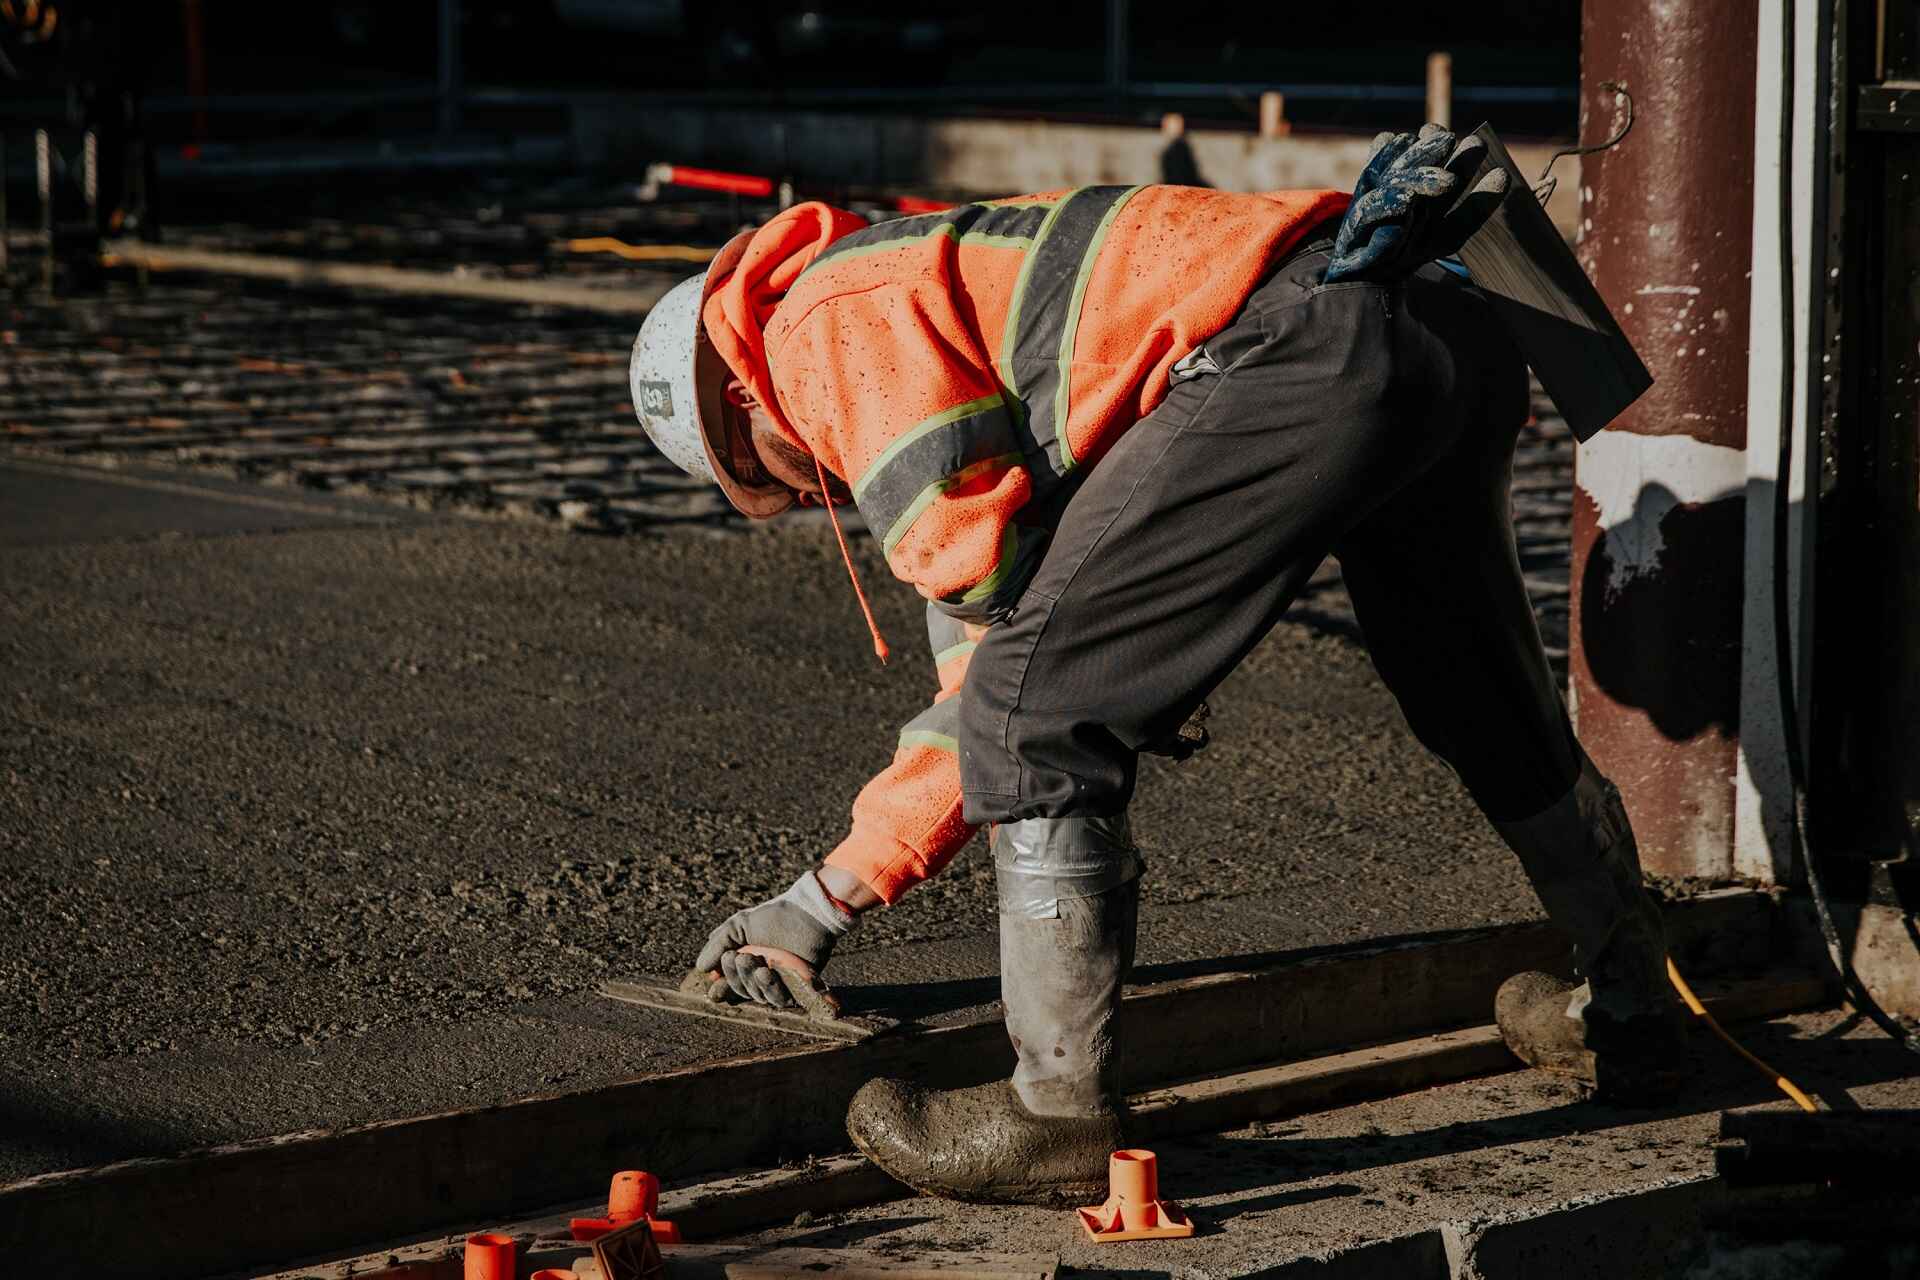
This is where the transformation begins. Our team pours the concrete into the prepared forms and works quickly to:

  • Spread and level the concrete
  • Apply your selected finish (broom, stamped, exposed aggregate, etc.)
  • Smooth the surface for visual appeal and safety
  • Add any decorative borders or textures

Depending on the weather and patio size, this step usually takes a full day from start to finish.

Step 5: Initial Curing

Once the concrete is poured and finished, it needs time to set and cure. During the first 24 to 48 hours:

  • Avoid foot traffic
  • Keep pets, debris, and water away
  • We may apply a curing compound to help prevent cracks

Even though the patio will look ready, it’s important to let it cure properly to build strength.

Step 6: Full Curing Time

Concrete continues to strengthen as it cures. While light foot traffic is often safe after 48 hours, full curing can take up to 28 days. During this time:

  • Avoid placing heavy furniture or grills
  • Don’t drive over the patio if it connects to a driveway
  • Keep it clean and dry

At Bill’s Custom Concrete, we provide detailed aftercare instructions to ensure your patio cures perfectly for long-term performance.

Factors That Affect Installation Time

While a basic concrete patio installation can take as little as 3 to 5 days, here are a few factors that may add to the timeline:

1. Size and Shape

Larger patios take longer to prep, pour, and finish. Complex shapes with curves or multiple levels also require more time and precision.

2. Custom Finishes

Stamped or stained concrete requires additional steps, including coloring, patterning, and sealing. These add both beauty and time to your installation.

3. Weather Conditions

Heavy rain or extreme heat can delay the pour or affect curing time. We monitor forecasts closely to choose the ideal window for your project.

4. Site Accessibility

Difficult terrain or tight spaces can increase the time it takes to deliver and pour concrete.

Why Choose Bill’s Custom Concrete & Yard Drainage?

When you choose us, you’re not just getting a patio—you’re getting peace of mind. With decades of experience installing concrete structures across OKC, we offer:

  • Custom design to fit your outdoor lifestyle
  • Skilled craftsmanship with precision pouring and finishing
  • Top-quality materials to ensure long-lasting durability
  • Transparent timelines with no hidden surprises

From patios and driveways to drainage systems and concrete slab repair, we do it all with professionalism and pride.

Ready to Transform Your Backyard?

Turn your backyard into a beautiful, functional retreat with a custom concrete patio from Bill’s Custom Concrete & Yard Drainage. Whether you’re hosting gatherings or relaxing with family, our expert team will design and install a durable patio that complements your home and lifestyle.

Call us today at (405) 755-3975 to schedule your consultation. We’ll assess your space, recommend the right design, and give you a clear timeline, so you can enjoy your new outdoor space sooner than you think.

Read More
Concrete sidewalk with stairs showing clean installation

How Concrete Sidewalks Are Installed: A Step-by-Step Guide

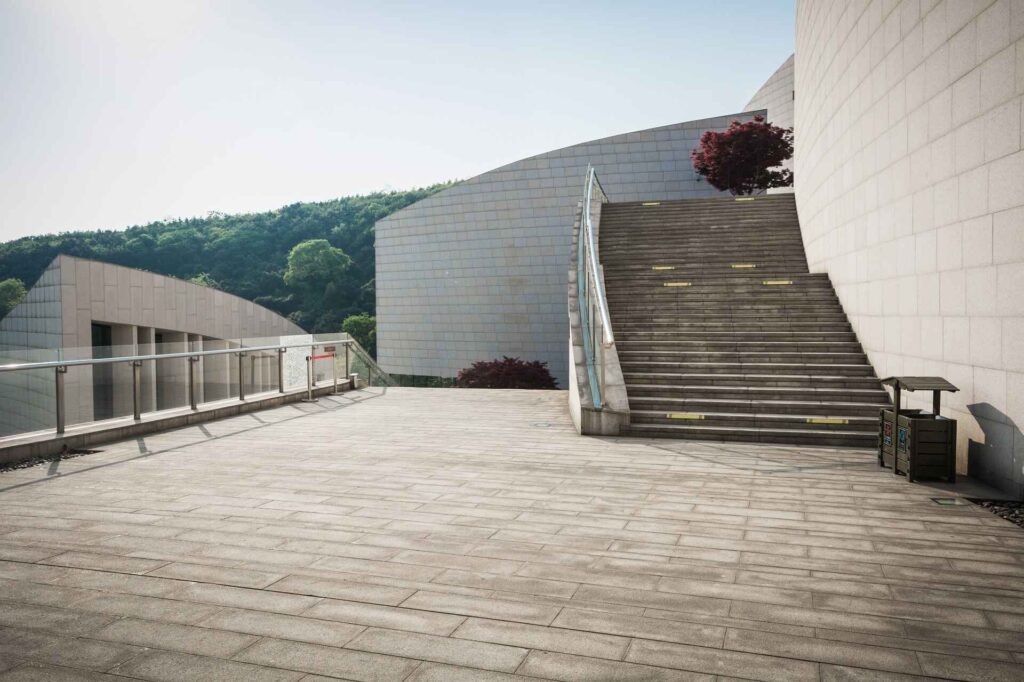
Concrete sidewalks are essential features in both residential neighborhoods and commercial areas. They provide safe, durable, and visually appealing walkways for pedestrians. If you’re planning a sidewalk project for your home, business, or commercial property, it’s important to understand how concrete sidewalks are installed. This guide walks you through the step-by-step installation process, offering insight into what to expect when working with a professional commercial concrete company.

Whether you’re installing new concrete sidewalks in Oklahoma City or replacing an existing walkway, the process requires precision, expertise, and the right equipment. Let’s explore how experts handle the job from start to finish.

Step 1: Planning and Permitting

Before breaking ground, a concrete contractor begins with proper planning and preparation. This step includes:

  • Measuring and layout: Identifying the sidewalk’s length, width, and slope to comply with ADA (Americans with Disabilities Act) requirements.
  • Utility checks: Ensuring that there are no underground utility lines where the concrete will be poured.
  • Permits: In Oklahoma City, a sidewalk permit may be required, especially for commercial projects. A reputable commercial concrete company will typically handle the permitting process for you.

Proper planning is crucial to ensure safety, drainage, and long-lasting durability.

Step 2: Excavation and Site Preparation

Once the plan is finalized, the site is prepared:

  • Excavation: Workers dig out the area where the sidewalk will be installed, typically 6 to 8 inches deep depending on load and soil conditions.
  • Grading: The surface is leveled and graded to ensure proper water runoff, which prevents pooling and premature damage to the concrete.
  • Compaction: A compacted gravel or crushed stone base is laid to provide stability and prevent settling over time.

This foundation is essential for supporting the weight of the concrete and resisting cracking.

Step 3: Formwork Installation

Formwork refers to the wooden or metal molds used to shape the sidewalk:

  • Forms are staked into place to outline the exact shape and height of the sidewalk.
  • These forms help contain the concrete while it’s being poured and shaped.
  • At this stage, expansion joints are also planned to accommodate future temperature-related movement and avoid cracking.

High-quality formwork ensures a smooth, professional finish.

Step 4: Reinforcement (Optional for Sidewalks)

Depending on soil type, sidewalk usage, and expected load, reinforcement might be required:

  • Rebar or wire mesh can be laid within the form to provide additional structural strength.
  • Commercial sidewalks in high-traffic zones often require reinforcement to prevent cracking from weight or vibration.

Your commercial concrete company will assess whether reinforcement is necessary based on your specific project needs.

Step 5: Concrete Mixing and Pouring

Hire a Commercial Concrete CompanyOnce the forms are ready, the concrete is mixed and poured:

  • Ready-mix concrete is typically delivered on-site in a concrete truck for consistency and efficiency.
  • The mixture is poured evenly into the forms and spread using shovels, rakes, or screeds.
  • It’s critical to pour and work quickly, especially during hot Oklahoma weather, to avoid premature setting.

The mixture used for concrete sidewalks in Oklahoma City is often designed to withstand both extreme heat and freezing conditions, making proper mix selection crucial.

Step 6: Finishing the Surface

After pouring, the concrete surface is finished using a variety of tools:

  • Screeding: A straight board is used to level the surface.
  • Floating: This process smooths out the surface and brings finer particles to the top.
  • Edging and Jointing: Edging tools round the sidewalk edges, while jointing tools create control joints to help prevent cracking.
  • Texturing: Most sidewalks receive a broom finish to provide traction and prevent slips when wet.

A professional finish not only adds visual appeal but also improves functionality and safety.

Step 7: Curing the Concrete

Curing is a critical part of the installation process and ensures the concrete reaches maximum strength:

  • Curing involves keeping the concrete moist for several days to prevent rapid drying and cracking.
  • Curing compounds, water sprays, or wet coverings are often used.
  • In Oklahoma City’s warm climate, proper curing is essential to avoid surface defects.

Most sidewalks are walkable within 24-48 hours, but should be kept free of heavy loads for at least 7 days.

Step 8: Final Cleanup and Inspection

Once the concrete is cured:

  • The formwork is removed.
  • Any surrounding debris is cleaned up.
  • The new sidewalk is inspected for quality, slope, and finish.

A top-tier commercial concrete company will ensure your sidewalk meets both city codes and high-quality standards.

Why Hire a Commercial Concrete Company?

While DIY sidewalk installation might seem feasible, working with a professional contractor offers significant benefits:

  • Expertise in local codes and climate conditions.
  • Access to proper equipment for excavation, pouring, and finishing.
  • Time and cost efficiency, especially for large commercial projects.

When choosing a contractor for concrete sidewalks in Oklahoma City, look for experience, licensing, and a strong portfolio of commercial work.

Partner with Bill’s Custom Concrete for Sidewalk Installation

Installing a concrete sidewalk is a multistep process that requires careful planning, skilled labor, and high-quality materials. Whether for residential upgrades or commercial infrastructure, hiring an experienced commercial concrete company ensures long-lasting results and compliance with Oklahoma City regulations. If you’re ready to enhance your property with reliable concrete sidewalks in Oklahoma City, contact a trusted contractor to get started today. Call us at 405-755-3975 or contact us for more information.

Read More