Laying a foundation - Bill's Custom Concrete

How to repair cracks in your home foundation.

Are your cracks showing?

Often overlooked by the average eye, foundation cracks are pesky little nuisances that pose no major threat to your home’s structural integrity, but over time they can allow openings in your home’s foundation for groundwater leaks, rodents and gas leaks.

A cracked foundation in Oklahoma City can be the result of a multitude of factors. From heavy rainfall to the typical settling of a house as it ages. While any major repairs to a cracked foundation should be done by a professional, like Bill’s Custom Concrete & Yard Drainage, there are a few do-it-yourself techniques that can help preserve your cracked foundation over time. Looking to fix your foundation in Oklahoma City? Bill’s Custom Concrete & Yard Drainage will tell you how!

Step 1: Purchase an epoxy sealer.

For surface cracks in a foundation, use a strong epoxy sealer to patch it up. It’s important that you’re careful in your selection of an epoxy sealer. You’ll want to choose an epoxy sealer that is stain-resistant and commercial-grade — strong enough to keep protecting your home’s foundation.

Step 2: Clean your foundation’s crack.

Before patching up your cracked foundation with an epoxy sealer, brush out any loose concrete or other debris protruding from the crack. Then, check to make sure that the foundation crack is dry and that no water is seeping from it. Oklahoma City seasons can be unpredictable, so you’ll want to make sure that you repair your foundation crack on a dry, warm day.

Step 3: Space out your injection ports.

Your epoxy sealer kit should come with injection ports. You’ll want to space the injection ports about 12 inches apart. You can do this easily by driving two 3-in. finishing nails into the foundation crack, measuring accurately to ensure proper spacing.

Step 4: Mix the epoxy sealer.

When you purchase an epoxy sealer to fix a crack in your home’s foundation, they often come in kits with instructions specific to the epoxy sealer that you’ve chosen. Carefully follow the instructions included with your epoxy sealer to mix the compound together. Failure to follow instructions may result in foundation cracks returning.

Step 5: Attach injection port.

After your epoxy sealer is mixed correctly, it’s time to start repairing your cracked foundation! Attach the two injection ports by spreading some of the epoxy sealers across the bottoms of the ports. Place the injection ports over the nails you applied to the foundation crack.

Step 6: Start spreading the epoxy sealer over the foundation crack.

Using a putty knife or margin towel, begin spreading a large amount of the epoxy sealer across the foundation crack. Spread the epoxy sealer about 1 inch thick over the foundational crack. Make sure to spread the edges thin, then feather the edges of the epoxy sealer using a paintbrush dipped in mineral spirits.

Step 7: Inject the epoxy sealer into the foundation crack.

Allow the epoxy sealer to cure for about 6-10 hours, depending on the size of the foundation crack. After it has dried, inject the epoxy sealer directly into the foundation crack through the injection ports using a caulk gun. Inject the foundation crack from both ports until epoxy sealer begins oozing from the ports.

Step 8: Seal the injection ports.

Remove the caulk gun and use the plugs included in your kit to remove the excess epoxy sealer, then plug them up. Make sure you plug each injection port before proceeding with the next step in repairing your home’s foundation.

Step 9: Cut off the injection ports left in the foundation crack.

After giving the epoxy sealer 5 days to cure inside your home’s cracked foundation, you can cut off the remaining injection ports using a hacksaw. Up to you, but if you want to cover the holes left by the removed injection ports, use some leftover epoxy sealer to patch them up.

Simple and easy, repairing your home’s cracked foundation in Oklahoma City doesn’t have to be a daunting task. However, if you find that the job is too overwhelming or more intense than you originally thought, give Bill’s Custom Concrete & Yard Drainage in Oklahoma City a call! We’ll get the job done right!

Read More

French Drains – Why Are They Important?

Yard Drainage Systems Oklahoma City & Edmond Ok

Despite the name, French drains didn’t actually come from France (unlike great inventions like the parachute, food processor, stethoscope, and aspirin). Instead, it was a creation of Henry Flagg French, who was an assistant US Treasury Secretary. Back in 1859, he released a document called Farm Drainage, and homeowners across the world have relied on French drains ever since.

What’s a French Drain?

As well as ‘French drain’, this design has several other names:

  • Rubble drain
  • Drain tile
  • Blind drain
  • Land drain
  • Rock drain
  • French ditch
  • Perimeter drain

For those who are still confused, the design revolves around a trench to collect all underground moisture. When landscaping, lots of homeowners and builders consider irrigation but don’t pay as much attention to drainage systems. Unfortunately, for locations where rainy seasons are common, this has the potential to cause all sorts of headaches.

When water is allowed to build, it damages the structure of the building, causes diseases in plants, and damages lawn mowing equipment. In many cases, it’s possible to eliminate the risk of these problems with a simple French drain. The size of your French drain depends on how much water needs to be carried, the land grade, and more.

Talk to an expert today

Why Are French Drains Important?

Why would you want a French drain on your property? Primarily, the land needs a French drain because it relieves water tension around the home. Without a French drain, water has free rein to collect against the walls of the property, and this can seep through to cellars while also damaging the structural integrity of the whole building. Inside the home, you suffer from damp and mould. Outside, the mortar joints crumble while the brickwork starts to decay. The older the property, the more likely the damage is to cause major issues.

When installed correctly, French drains keep water away from the building and carry it to other areas. However, its job doesn’t end there because modern designs also contain this water. Rather than having to deposit it somewhere, the drain contains the water and it gradually absorbs into a location of your choosing. Wherever it reabsorbs back into the landscape, the idea is that it’s kept away from walking areas and important structures.

Get a Free Estimate

Key Tips for Installing French Drains

When installing a French drain, planning is perhaps the most important stage of all. As discussed, it’s important to find a location where the water can sit away from structures and other critical areas. Furthermore, the trench itself needs a strong path without contacting pipes, cables, trees, and other obstructions. Although it sounds simple, most builders will plan a route with tape, string, rope, or even marker spray.

During the planning phase, don’t forget the additional soil you’ll have after digging. What will you do with the waste soil? While some people use it for a feature in the garden, others simply dispose of it or gift it to friends and family. As professionals will tell you, the trench should never go deeper than the home itself. When planning the trench route, keep in mind that a standard width for a French drain is between 20cm and 30cm.

While reading about French drains, we know that some people will be thinking about money. Is a French drain expensive? Ultimately, there’s no universal answer because it all depends on the required size, materials, and whether or not you choose a professional for the job (or perform the work yourself).

Start Building Today!
Read More

How To Manage Erosion Control Oklahoma City

EROSION CONTROL OKC

EROSION CONTROL OKLAHOMAIs your yard suffering from erosion caused by water runoff, pollution or other natural causes? Erosion control might be the solution for your Oklahoma City property.
In Oklahoma, we experience all kinds of weather — from arctic winters, intense ice storms and monsoons of rainfall in the spring and summer. Runoff from these weather systems can cause your yard to erode over time.

Typically, erosion control programs are handled by city officials when it comes to a large natural or agricultural space. But, if your personal property is starting to erode with the weather, it might be time to seek professional help.

Luckily,  Bill’s Custom Concrete & Yard Drainage in Oklahoma City specializes in extreme erosion control. What exactly do we mean by extreme erosion control?

When we come for your free consultation, we will inspect the problem areas of your property — We will look for water runoff, standing water and soil or earth that appears to be washing away.

We’ll then create a custom plan, tailored to your home’s specific needs to prevent erosion in the future.

What are the risks associated with an eroding property? Standing water and water runoff can cause major issues for your home’s foundation, and other concrete around the property — like your driveway or any walking paths on the property.

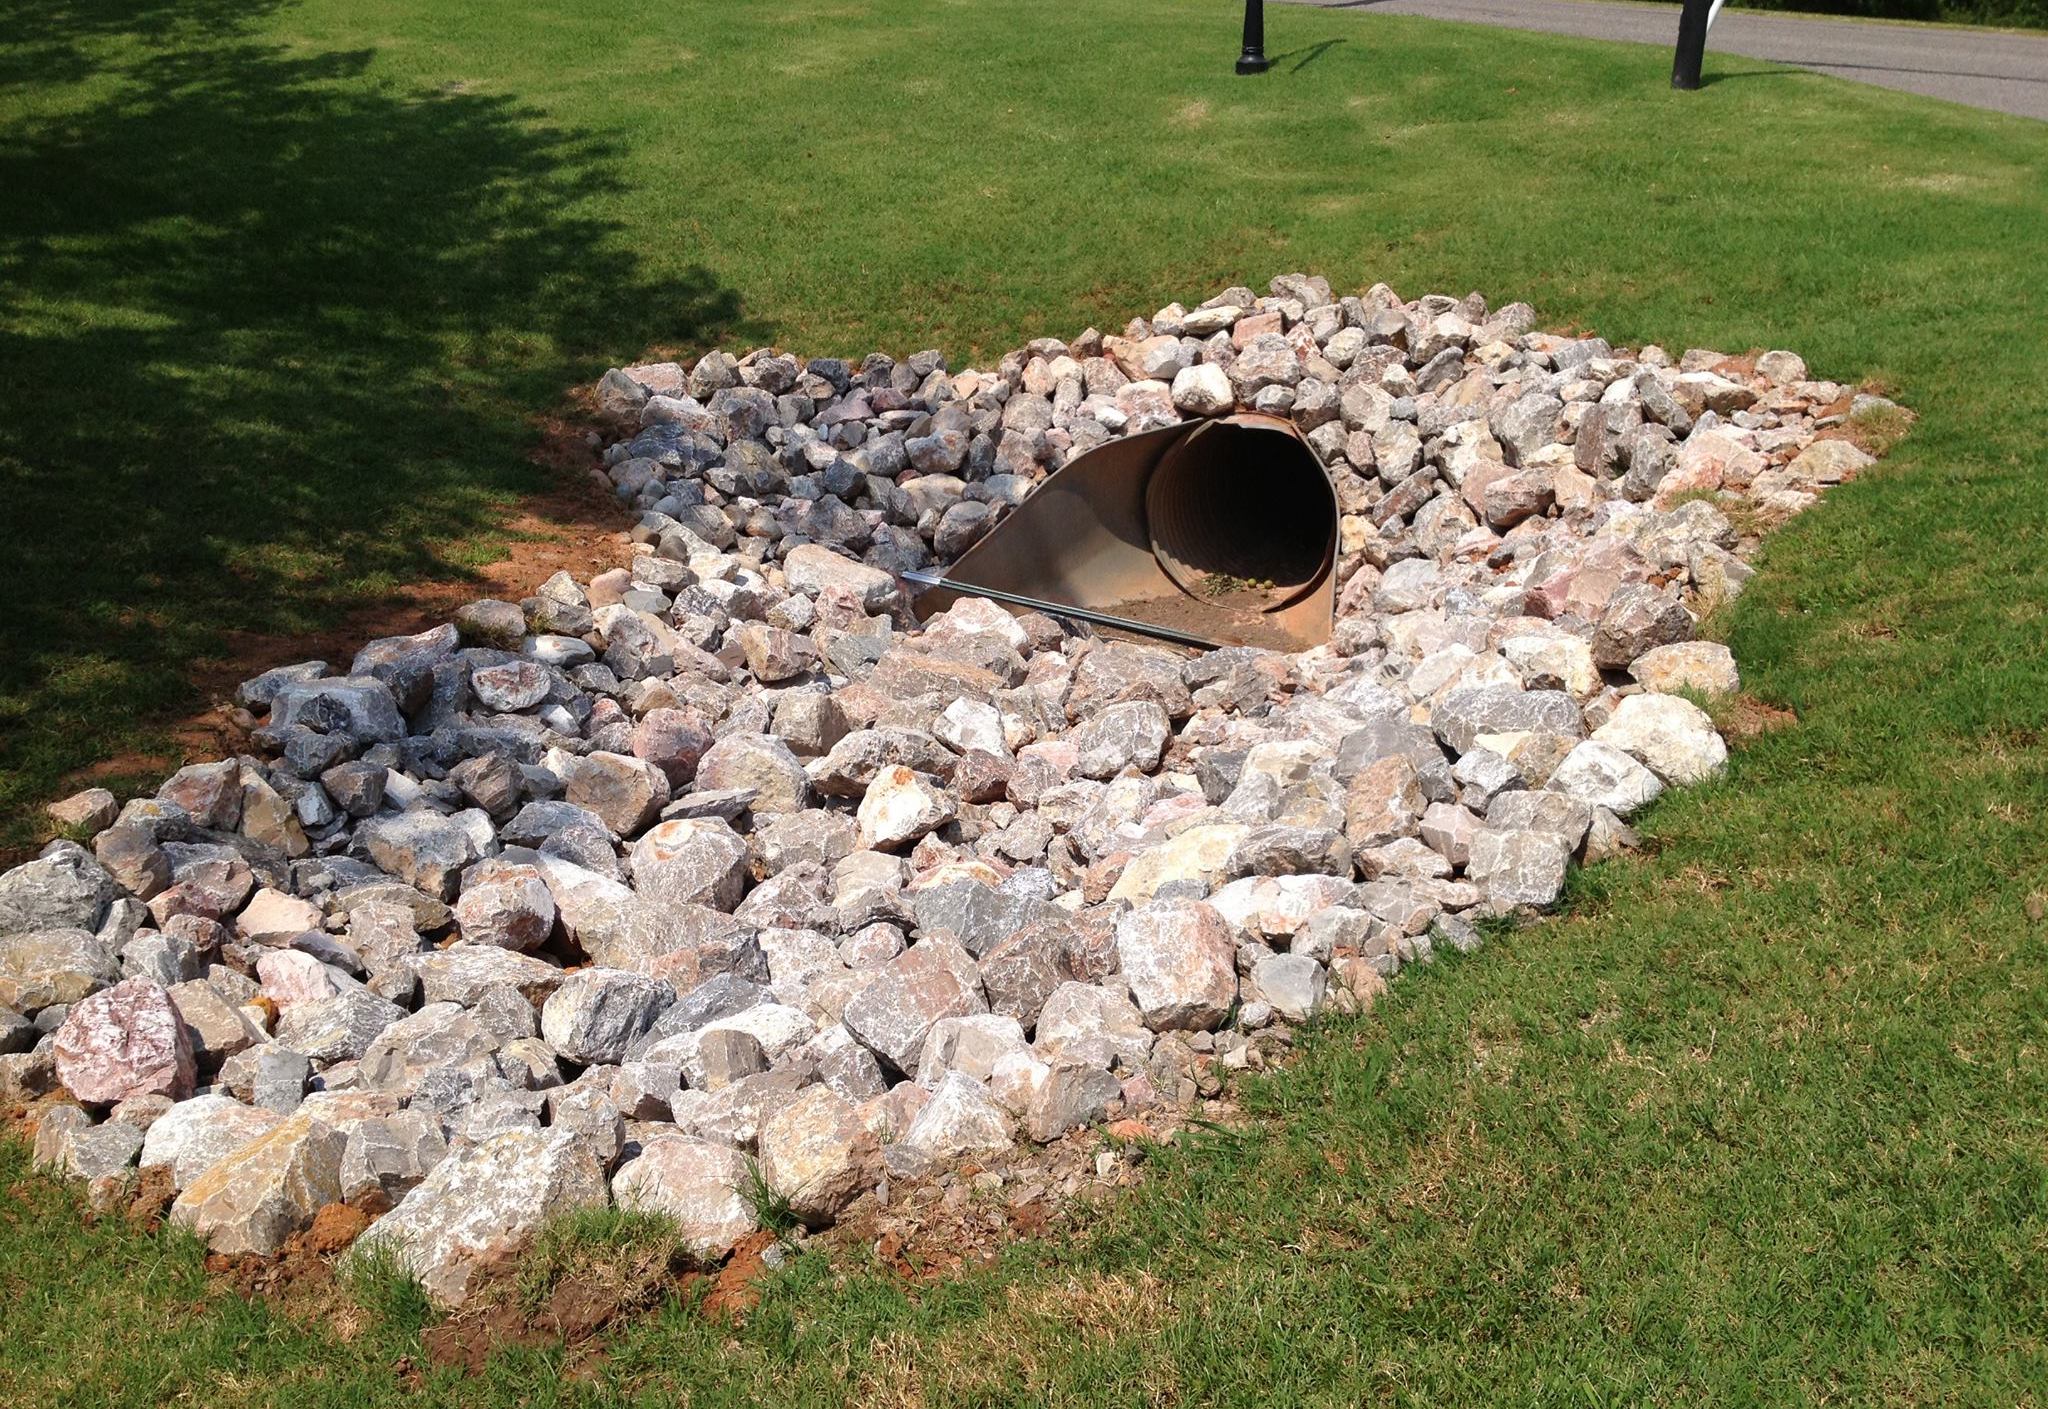
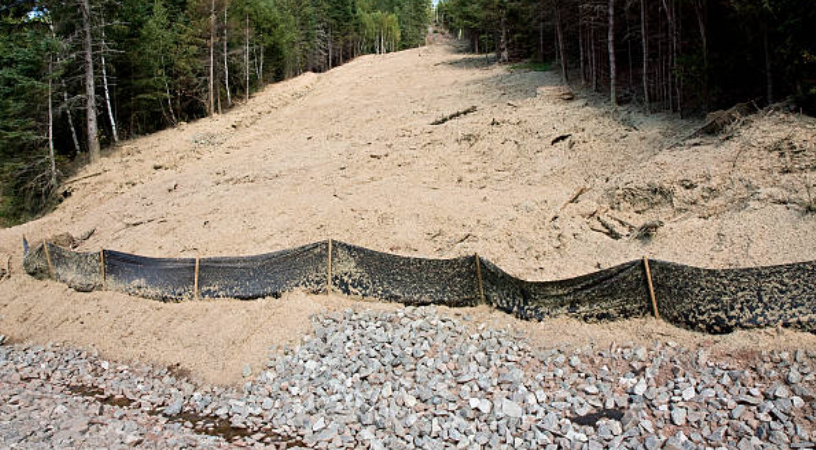
Bill’s Custom Concrete & Yard Drainage in Oklahoma City uses a variety of special techniques — from water collection discharging systems, water diversion systems, erosion barriers, erosion mats, rip rap, silt fences and more — to reroute storm runoff and prevent soil or dirt from washing away.

A worthwhile investment for the future of your home’s integrity, extreme erosion control will prevent major obstacles for your home’s foundation — such as cracking, erosion and displacement of existing concrete.

Don’t let water stand around and wreak havoc on your property any longer. Take a step in the right direction with a call to BBill’s Custom Concrete & Yard Drainage in Oklahoma City.

Our team of specialized experts will work with your needs and your bank account. We have a variety of special techniques that are proven to work every time. Give Bill’s Custom Concrete & Yard Drainage in Oklahoma City the chance to reroute standing water and save your property from trouble in the future.

We take pride in our work and have a long running history with satisfied customers in Edmond, Yukon, Moore and all across the Oklahoma City metro!

Read More

Stained Concrete Design Oklahoma City

How to add designs to stained concrete in OKC 

Concrete Cement Coloring Oklahoma CityTired of looking at your drab, plain concrete patio? 

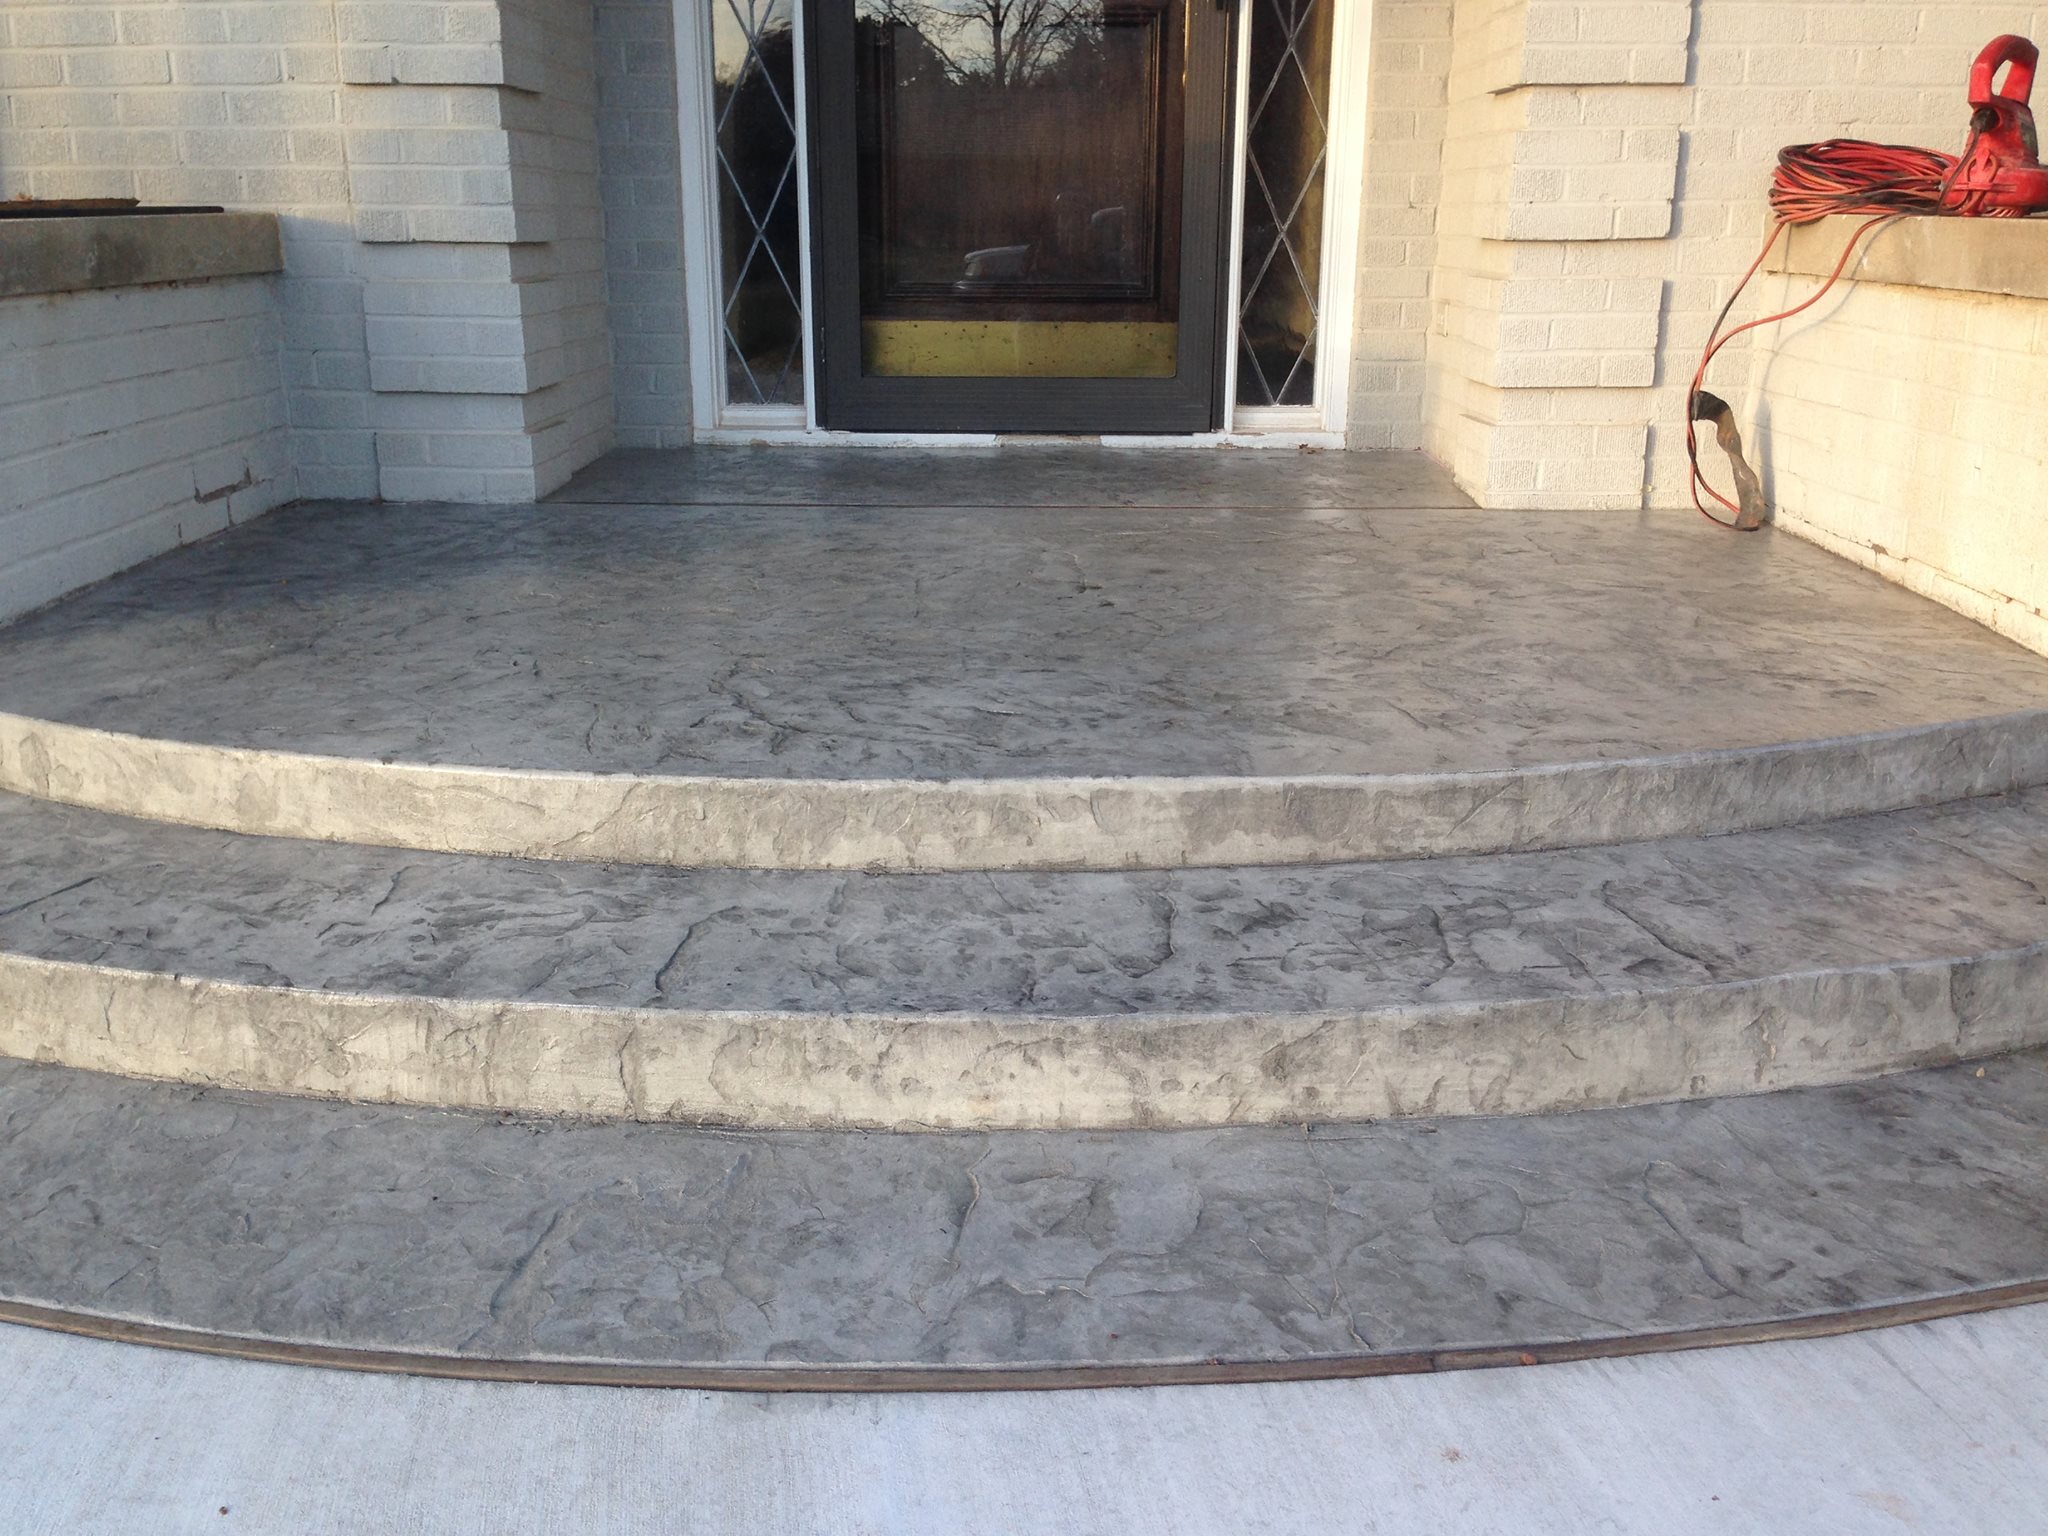
Oklahoma summers can be long and hot, giving you ample time to enjoy the warm weather in your backyard. Don’t let a bland concrete slab patio ruin the view. Staining your concrete patio is easy and can be done in a weekend with the right materials. But want to add even more flare and give your concrete patio a unique touch? Bill’s Custom Concrete & Yard Drainage in Oklahoma City will show you how to put some life into your concrete slab! 

Pick the perfect spot. 

Once you’ve decided to stain your concrete patio, and have chosen the colors of concrete stain that best suit your personal taste, it’s time to pick what kind of design you want and where to place it on your concrete. 

Bill’s Custom Concrete & Yard Drainage in Oklahoma City suggests not overloading your concrete patio with a cluttered mess of different designs. Instead, go with a simple pattern across your concrete patio or a few stars, monograms or other symbols here and there. 

Clean up your concrete. 

Make sure that your concrete is fully cured and that you scrub off anything stuck to it that you wouldn’t want to soak through your stain. Allow concrete to fully dry and sweep it off one last time before you start staining your custom design. 

Map out your design. 

After you’ve decided on the right pattern and how you’re going to place the design on your concrete patio, start mapping out the design directly on the concrete. We suggest using painter’s tape, placed over carefully pencil-drawn lines atop of the concrete. 

Once you’ve mapped out your custom concrete design, make any necessary adjustments to ensure the design is balanced and clean. 

Start staining. 

Once you’ve taped out your design and have decided on the colors, it’s time to start staining! 

Carefully paint within the lines you’ve mapped out over your concrete. This is the point where you can let creativity flow! Add dimension and texture with different colors and application techniques — from speckled brushes to simple rolling brushes across the concrete. 

After you let the stain dry remember to use a sealer over the stain. Be sure to pick a sealer that is compatible with the stain you’re using. You can ask you local stain supplier about stain and sealer compatibility when purchasing your concrete stain. 

Let dry and enjoy. 

After you’ve allowed your concrete stain to dry completely, it’s time to soak in the summer sun on your Oklahoma patio! Dust off patio furniture and arrange your backyard oasis to your liking. Be sure to invite plenty of guests to show off your handy work and bask in the wonderful backyard weather! When done correctly, stains and concrete stain designs should last for years to come. 

Worried about shaky hands or need help with inspiration? Be sure to give Bill’s Custom Concrete in Oklahoma City a call, custom concrete design is one of our specialized services and can be done in as little as a day!

Read More
drain

Severe Problems Water Can Cause Around Your Home’s Foundation

  • The ground can be softened around the foundation, and therefore can possibly cause house foundation failure.
  • Foundation failure can cause further problems to the structure of the home.
  • Water in air conditioning ducts can cause ducts to rust and have to be replaced. Air-conditioners to have to work harder, and the air can become contaminated.
  • Water around the home and ducts can cause a musky, damp odor, mildew on the walls, and wallpaper to loosen and fall.
  • Water standing around the home can cause wood floors to rot and possibly invite termites.
  • Standingstagnate water can also cause mosquito problems.
Read More